The best time to replace your old roof is when it has attained its useful life, and every property owner dreams of having their roof installation go smoothly. However, the process of replacing an old roof tends to be chaotic and causes the property owner to be bothered. How, then, can you replace your roof with ease?
We understand the struggles and know the significance of having a functional roof. Hence, we have put together this comprehensive 8-step guide that will not only answer your question but also empower you with the knowledge to oversee the process. So, let’s get started on finding out how to install a new roof.
8 Steps to Guide You When Installing Your New Roof
Roofs are very vital parts of your home, and you can’t dismiss or belittle their importance. Installing a new roof is obviously not a walk in the park, as it involves several processes and knowledge. Therefore, it is crucial to employ only skilled professionals to execute the task.
The steps in replacing your old roof are:
1. Delivering the roofing materials to your home
Getting your materials for roofing is the first step to take in getting your roof installed. The best time to do this is in the morning of the project or a day before (most likely noon time).
When the materials arrive, they will be offloaded on a dry, paved surface at the point closest to accessing the roof. If you do not place materials like shingles and pallets on a paved surface, you will end up with dry grass stuck to your materials. If your roof is large, your materials will definitely take up some space.
Note that no experienced roofer will deliver your materials several days before installation. The exception is in situations where a storm or unfavorable weather causes them to put the project on hold.
2. Do some assessment, go over the process, and set up
Your roofing contractor will assess your roof and capture and document any noticeable damages before they start working on it on the morning of the replacement. They will look out for dents in gutters, tears in the window screens, spoilt light fixtures, and any damage in the roof line area.
Do you know why they do this? It is to avoid problems in the future. Many homeowners tend to be unaware of preexisting damages. So when they notice them after the roof replacement, they assume the damages happened during installation. While the roof area assessment is ongoing, team members prepare their work tools and put the necessary things in place to make work faster and more efficient.
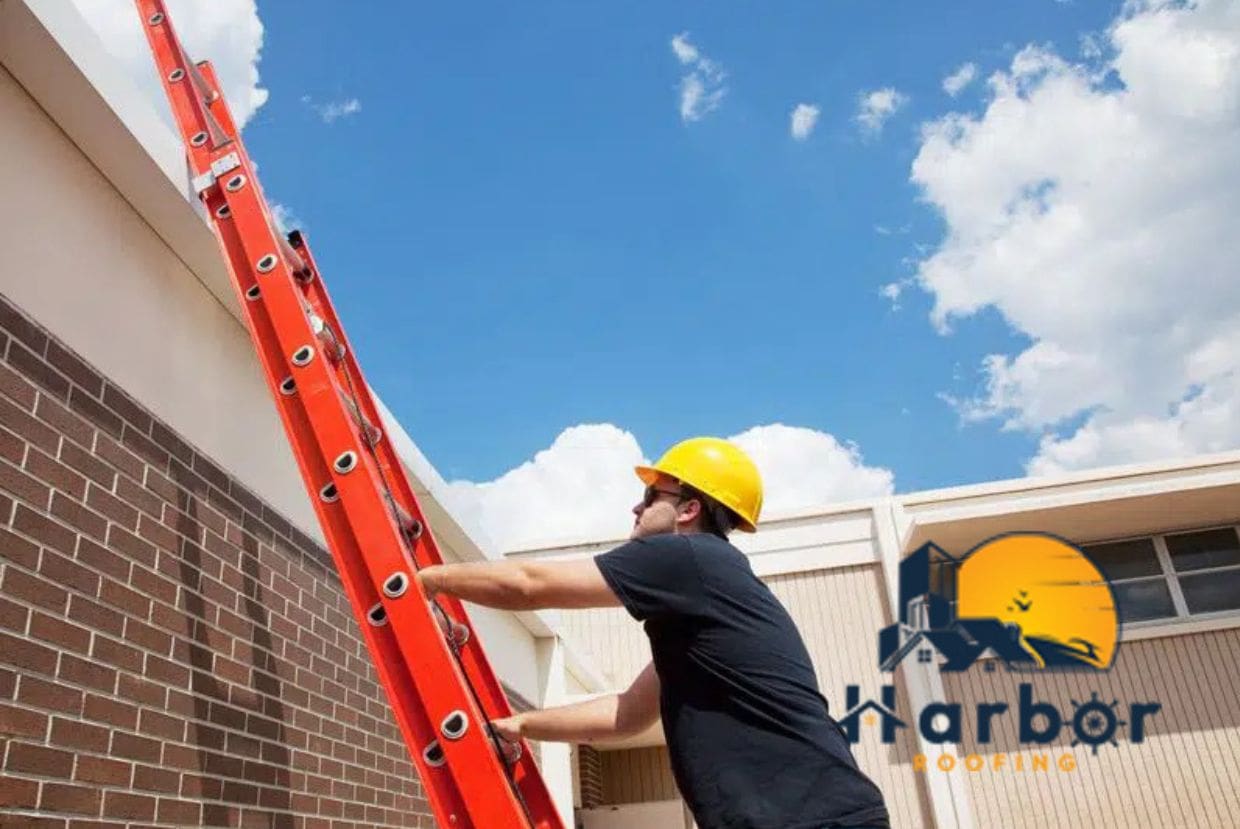
3. Set up safety procedures to protect your property
The actual process of replacing the roof starts after the roofers have put everything in place and set the safety rules for your property’s protection. To protect everything at the base of your building, they fix tarps to the roof line and put wooden boards against the walls’ exterior. Instead of debris from the process falling directly on the grounds of your home, they fall to the right spots. This makes the cleaning process after installation a lot easier.
If your property has a pool or an attic, the roofer will cover them, too, and transfer items from your deck.
4. Tear off your roof
After protecting your property, the roofers start tearing off the old roof in sections. Usually, they start tearing from the corner farthest from your driveway and work down to the dump trailer. To make the installation process faster, some members of the team tear off the roof while others pack the waste. Some members will also be on standby to make sure everything goes as planned.
Your roofer will clean out your gutters and start the process of installing the new roof after successfully tearing off the old one.
5. Replace defective or rotten roof decking
The next step is for the roofer to inspect your roof decking for damage, rot, or any faulty wooden boards after tearing off each section. If they find damage to your decking, they have to replace the damaged parts before installing the new roofing materials.
Hardly would you find a complete section of a roof deck replaced. However, there are possibilities for it to happen. If your plank decking has over 1/8” between the planks, you have to replace them even if they aren’t damaged. Failure to do this will void your warranties.
6. Install your new roof
After removing your previous roof and replacing any compromised decking, your roof is ready for installation. The team starts by adding drip edges to the edges of your roof. They will also add water and ice shields in the valleys and then replace the roof flashing. Afterward, they’ll install the underlayment over the whole decking. The underlayment must cover the drip edge down the eaves and beneath the drip edge on the rakes.
The shingle installation can start after the roof dries. The roofers will begin with a row of starter shingles, and rows of shingles next. They’ll start from the bottom and work their way up the ridge. Once they are done with this process, they’ll install the capping and replace the vents for the roof.
7. Clean up the surroundings
You thought the installation process ended with step 6, right? Well, not really. Although your roofer has replaced your roof at this point, the process still continues. The next thing to do is to clean up. The team will get rid of residues from the process by blowing off the gutters, roof, and downspouts. After that, they roll up the tarps, pack up their tools, and tidy up the ground.
A member of the roofing team will also go around your property with a magnet to attract nails that may be lying around. At the end of the post-installation cleaning process, your property should be so clean that there will be no traces that an installation process just happened.
8. Final inspection
At the end of the process of replacing your old roof, the roofer will do a run-through to cross-check the final result. They will check the roof to ensure that they did a good job and look out for areas on the roof that are prone to leaks to ensure they are well protected.
Off the roof, they’ll inspect your property’s surroundings for nails and waste that they may have missed the first time. At the end of their job, if you are happy with it, you will get your warranty details and complete your payment.
Conclusion
Whenever you decide to install a new roof, it is essential that you do so when you are certain that the weather will be dry for the next couple of days. This is vital because the success of your roof replacement depends on it. Additionally, it allows you to make proper plans ahead of time. Another thing you have to do is observe all the required safety steps ahead of time to keep you and your roofer safe.
So, now that you are well-informed on the steps involved in taking out an old roof and installing a new one, keep in mind that there might be some variations in the steps for different roofers. However, most roofing companies with good reputations observe the same general processes and principles.
Finally, it is vital to know that the process of replacing an old roof does not always have a “happily ever after” ending. Some of the unfortunate incidents are controllable, while others are beyond control. But the good thing is that being informed prepares you and helps you avoid such unfortunate incidents.
Frequently Asked Questions
Can I replace my own roof?
Yes, you can replace your own roof. If you are knowledgeable enough and have the skills, why not? But you know, when you consider the risk it takes and the tools and time it requires, you might realize that the money for workmanship you’ll be saving won’t be worth it. So we recommend that you get a professional to do the job instead.
Can you install a roof yourself?
Although we strongly do not recommend it, you can install a roof yourself. There are too many risks involved. Aside from the safety concerns, most insurance companies will only pay the claim in full with proof that a professional roofing contractor installed your roof. Also, DIYs will void your warranties.
How long does it take to replace a roof?
On a regular-sized building, the roof replacement might take the whole day. Larger ones require about three days to complete the eight steps. Sometimes, it takes two days. For smaller buildings, you can complete the roof replacement before the end of the day if the project starts at noon.